
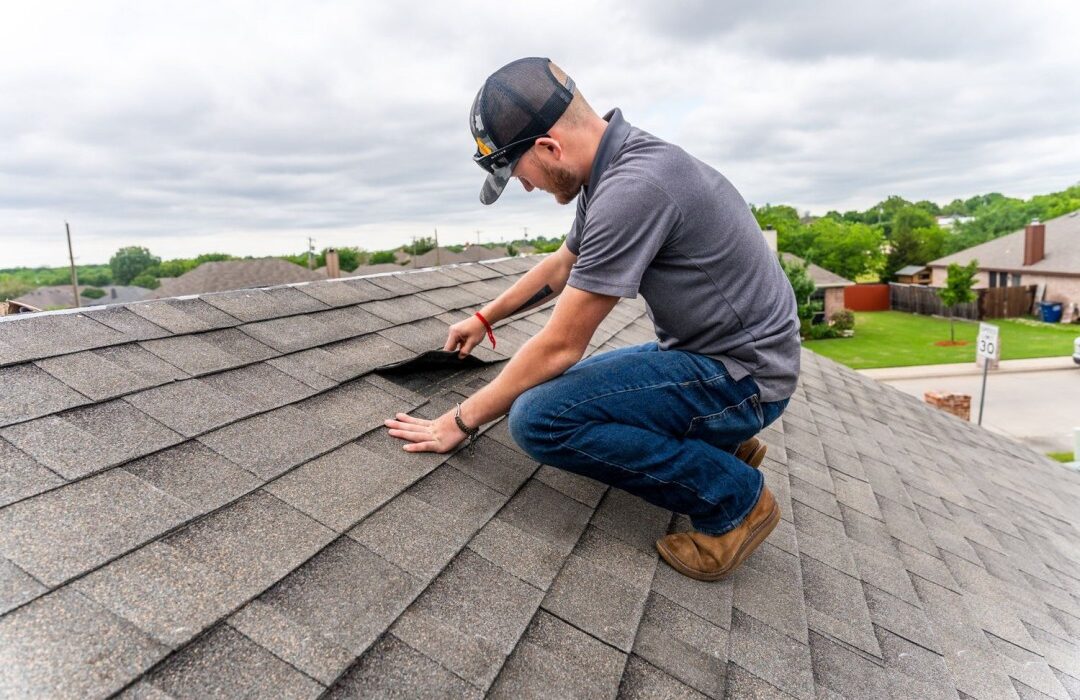
Homeowners often ask what actually happens on the day their roof gets replaced. The short answer: a lot — and most of it is invisible from the curb. A DC Pines Roofing install day compresses tear-off, inspection, deck repair, underlayment, flashing, shingle placement, and cleanup into roughly eight to ten focused hours. When it works, the yard looks untouched by evening and the roof above it looks brand new.
This walkthrough follows the shape of a standard DC Pines install day in the Houston area — the sequence, the checkpoints, and the crew habits that separate a rushed replacement from one that lasts its full manufacturer warranty. It is written for homeowners who want to know what to look for, ask about, and expect from any reputable Houston roofer.
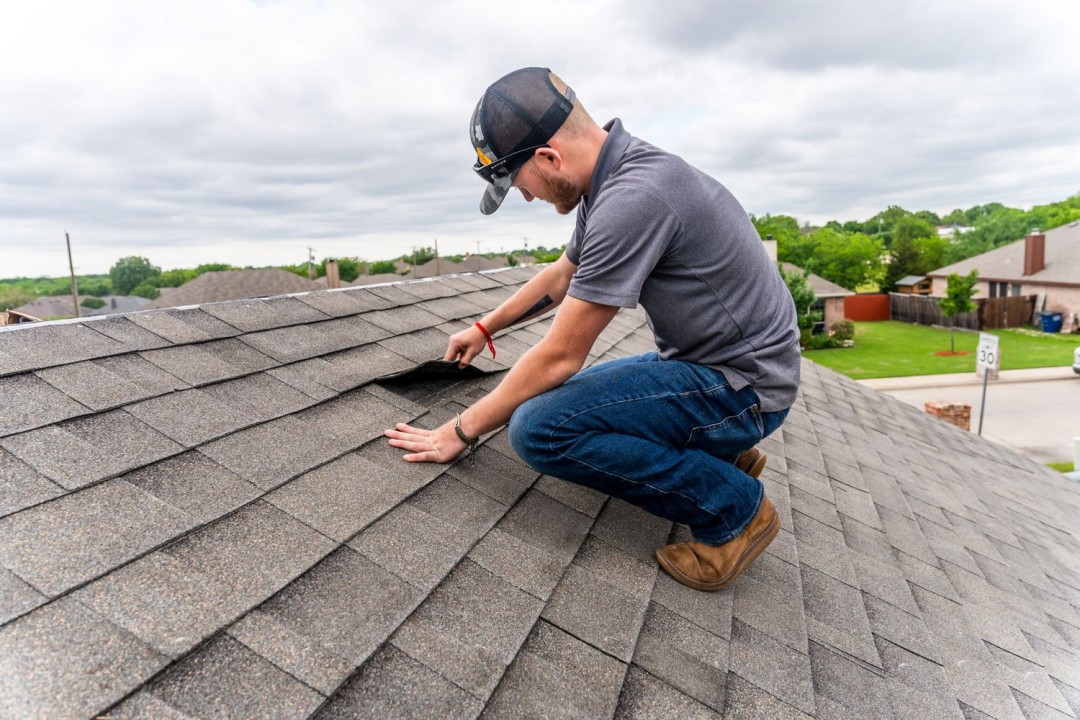
The Morning Setup: Protecting Everything That Isn’t the Roof
An install day starts before a single shingle comes off. The crew arrives early, positions the material truck and dump trailer for shortest possible carry distance, and stages the roofing squares near the eaves. Tarps go over flower beds and shrubs. Plywood shields the pool coping, hot tub covers, and the outdoor air conditioning unit. Windows and skylights get taped off if there is any risk of falling debris.
This staging window is where DC Pines Roofing spends time that budget contractors often skip. Nail sweeps and magnetic rollers work best when tarps have already captured the loose material, so the extra fifteen minutes at the start saves an hour of yard recovery at the end. Homeowners walking outside mid-morning should see clear pathways, covered landscaping, and a driveway that still functions for anyone who needs to leave.
Tear-Off and the First Real Look at the Decking
Once protection is in place, the crew begins tearing off the existing shingle system down to the wood decking. Old shingles, underlayment, drip edge, and pipe boots come off together and drop into the trailer. The pace looks aggressive from the ground, but it is deliberate — the faster the exposed deck is cleared and inspected, the less time the home spends without a weather barrier.
This is the moment where most hidden problems surface. Water stains around plumbing penetrations, splits along rafters, and soft spots near valleys all become visible for the first time in years. Any decking that fails a pressure check is marked and replaced with new plywood before the new underlayment goes down. Houston’s humidity and long summer heat cycles wear on roof decks more than most homeowners realize, and this inspection window is what makes the difference between a twenty-year roof and a thirty-year roof.
Underlayment, Flashing, and the Details That Do the Waterproofing
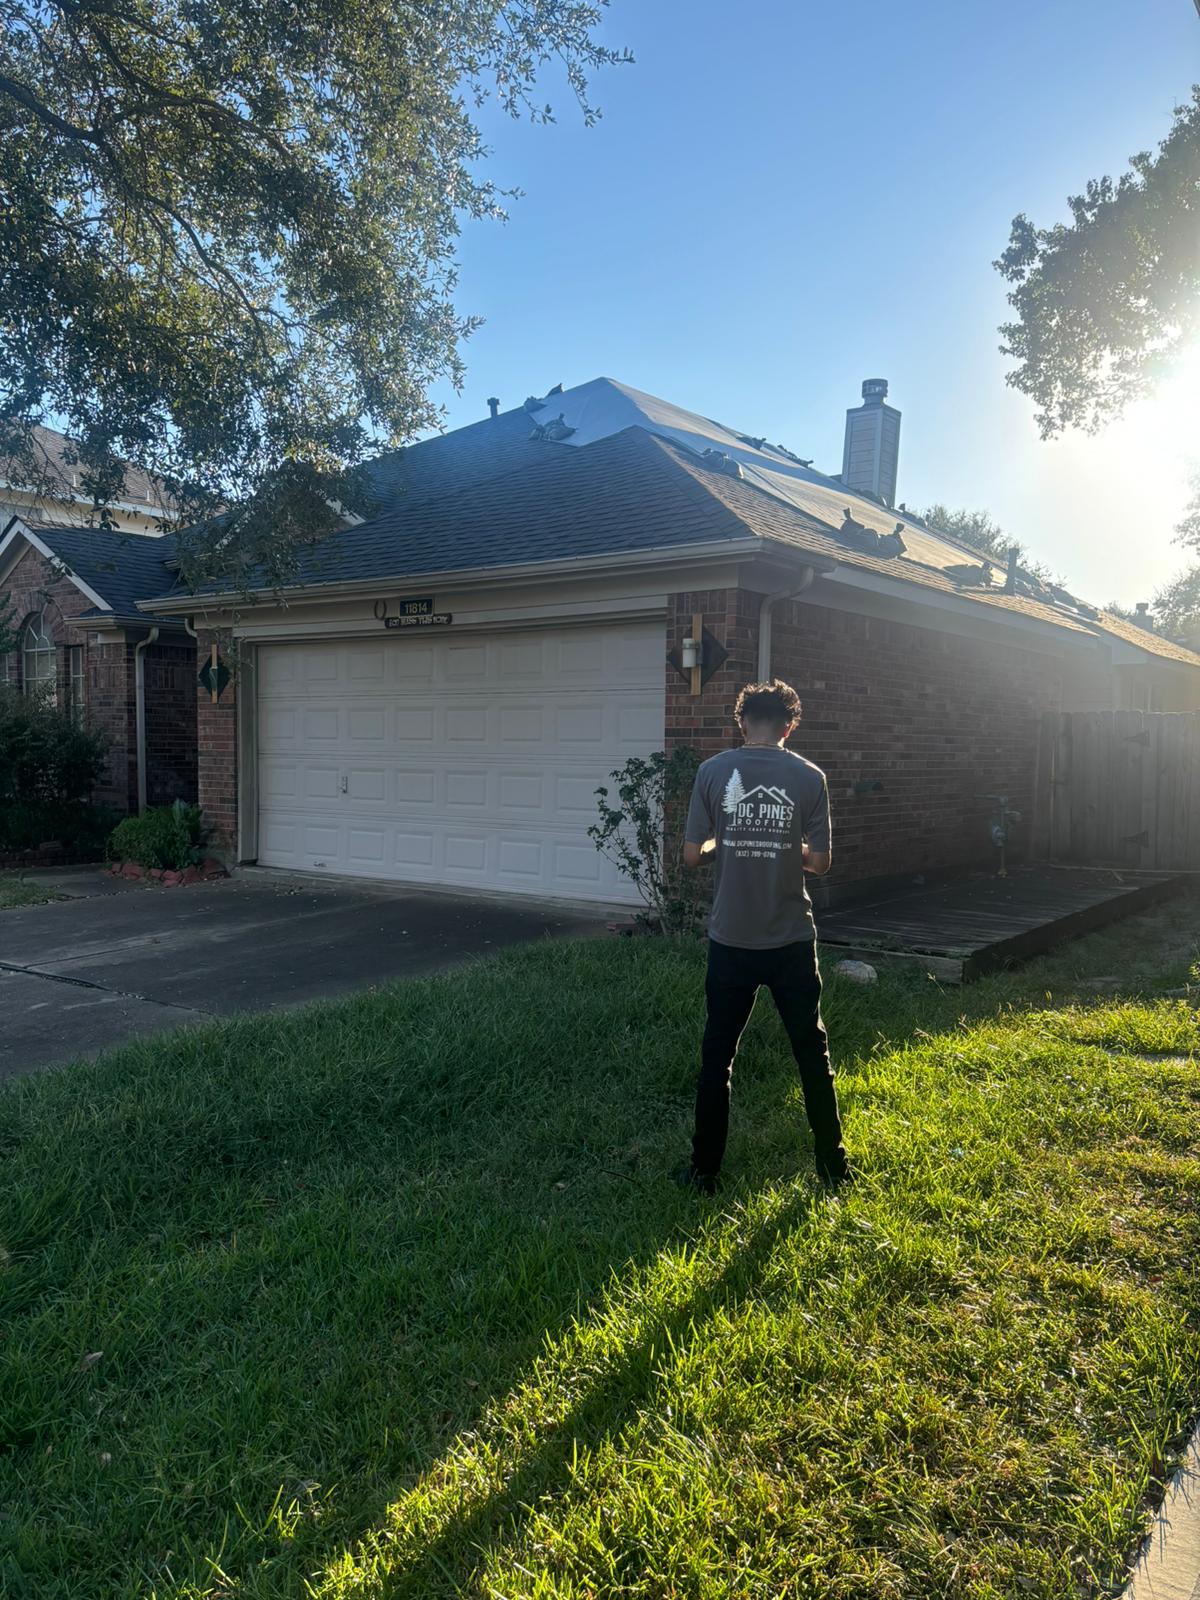
Shingles do not actually waterproof a roof. Underlayment, ice-and-water shield, and metal flashing do. Once the decking is clean and repaired, the crew rolls out synthetic underlayment across the entire roof plane. Ice-and-water shield is placed along valleys, around chimneys, at eaves where wind-driven rain tends to push water backward, and around any low-slope transitions.
Then the flashing goes in. New drip edge is installed at the eaves and rakes. Step flashing is placed along any wall junctions. Chimney flashing is reworked if the existing counterflashing is corroded or lifting. Pipe boots and vent boots are replaced with new units rated for the specific shingle system being installed. This is where most future leaks are prevented — or missed. A homeowner who wants to verify quality later can look at the flashing details before the ridge cap is placed, or ask for photos of the completed valleys and penetrations.
Shingle Placement and On-Roof Quality Checks
With underlayment and flashing dialed in, shingle installation moves quickly. Starter strips run along the eaves and rakes. Field shingles are placed in a proper offset pattern with correct nail placement — six nails per shingle in the Houston wind zone, not the four-nail minimum some regions allow. The lead installer walks the roof periodically to check nail depth, alignment, and any exposed underlayment near penetrations.
Ridge caps go on last. This is also when the ridge vent, if the ventilation system uses one, is set and secured. A properly ventilated attic depends on balanced intake at the eaves and continuous exhaust at the ridge; the ridge cap step is where that exhaust path is either finished correctly or quietly compromised. DC Pines Roofing crews are trained to leave the ridge open and functional, not sealed off for cosmetic reasons.
The Final Walk-Through and Yard Cleanup
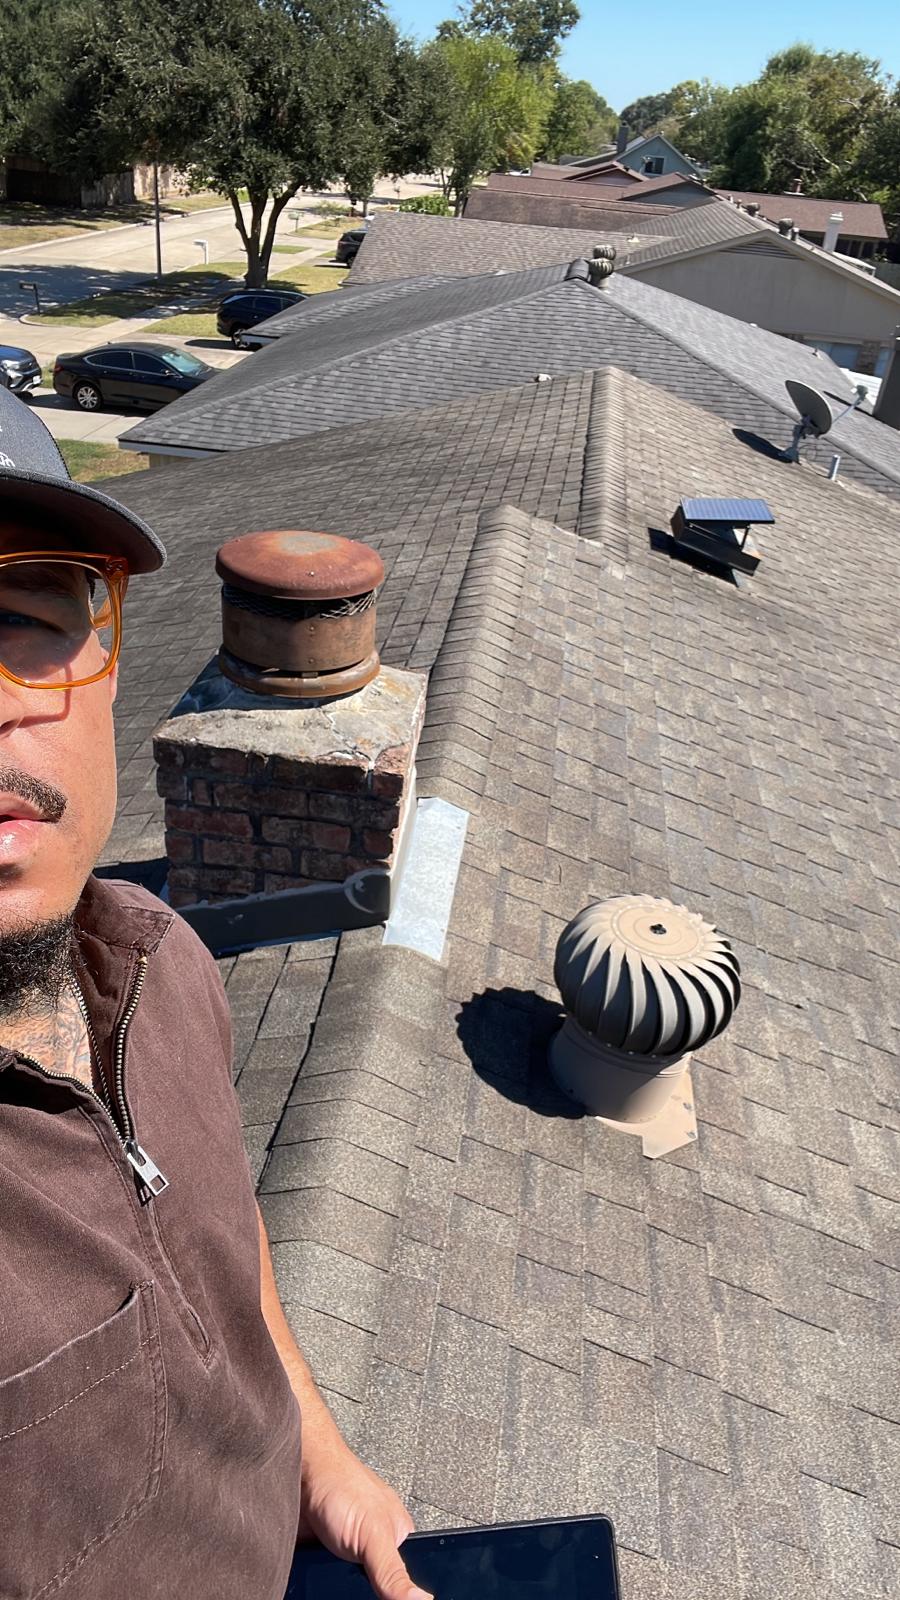
Every install ends with a walk of the completed roof by a lead or production manager. The checklist covers ridge cap alignment, valley cleanliness, drip edge overhang, pipe boot seating, vent flashing, and the visible edges of the gutter apron. Photos are captured for the customer file so questions weeks or months later can be answered with real documentation rather than memory.
On the ground, cleanup takes as long as the install did. Tarps come off carefully so debris drops onto more tarps below. The magnetic roller runs across the driveway, walkways, lawn edges, and around the perimeter of the home. Landscaping covers come off, and the yard gets a final visual sweep. When the crew leaves, the goal is simple: the only evidence of an install day should be a brand-new roof above the house.

Why It Matters for Houston Homeowners
Houston’s climate is unusually hard on roofs. Long summers push attic temperatures above 130°F, humidity accelerates deck aging, and the region’s mix of tree canopy and afternoon downpours means a roof gets tested nearly every week. A well-run install day is what buys a homeowner the full twenty-five to thirty years a modern architectural shingle system is designed to deliver. A poorly run install day looks the same from the curb on day one and starts failing quietly around year eight.
Ownership matters here. DC Pines Roofing operates as a veteran-owned Houston company with direct owner accountability over crew standards, and that shows up on install day as slower staging, more careful tear-off, real deck inspections, and a final walk-through that catches problems before the truck leaves. It is not the flashiest part of the job. It is the part that decides how long the roof lasts.
The shape of a good install day is not a secret. Any homeowner comparing Houston roofers can ask what happens between the material truck arriving in the morning and the magnetic roller running in the evening — and use the answer to sort real craftsmanship from a rushed replacement.
Meet the Houston homeowners’ choice for veteran-owned craftsmanship.
DC Pines Roofing brings direct owner oversight, seasoned Houston-area crews, and a documented install standard to every roof.